
Your real asset stays in the brief
A reference gives the model product, character, layout, or art-direction context to consider. It guides a newly generated edit rather than preserving every source detail.
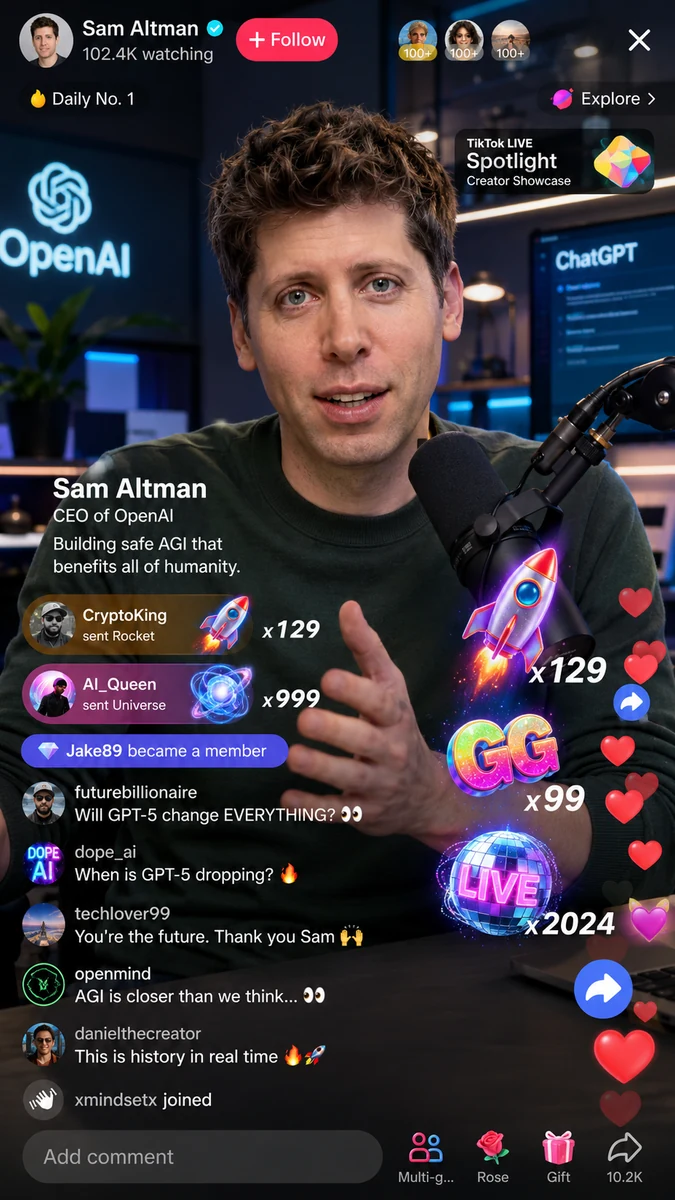 Example
An example of what this page produces.
Image to Image
Free AI image to image editor
Model
 GPT Image 2NEWImage editUp to 4K
Reference images
Upload up to 4 reference images to edit or transform.
JPEG, PNG, or WEBP, up to 10MB each.
0/4 images uploaded
Add at least one reference image before using image editing.
Image prompt
0/5000
Your generated images appear here. Describe what you want to see and click Generate.
Upload up to four reference images and describe the change you want. GPT Image 2 generates variations at up to 4K — editing, restyling, and background changes in one step.
That makes the page useful for focused transformations: replace a background, shift the style, alter color, add or remove an element, or turn several references into one new direction. Select 1K, 2K or 4K, an aspect ratio and one to four outputs before generation; the credit quote is shown up front.
GPT Image 2 handles reference-guided transformation, restyling, and background changes.
A reference gives the model product, character, layout, or art-direction context to consider. It guides a newly generated edit rather than preserving every source detail.
Ask for a background swap, a different material, added packaging, a new season or a cleaner composition. Focused instructions make the edit easier to evaluate.
Upload up to four source images when the result needs to draw from several angles, materials, visual references or product details.
First choose the image or images that contain the information you cannot afford to lose: a product silhouette, a person’s wardrobe, a logo placement, a visual mood or a specific composition. Then write the transformation in plain language. State what should remain, what should change, and the result you want to see.
Keep the instruction narrow on the first pass. “Keep the bottle shape and label, replace the studio background with a sunlit kitchen, natural food photography” is easier to judge than a paragraph requesting unrelated changes. If the first output is near the target, adjust one detail at a time and use a larger resolution only after the direction is approved.
Name the elements that must survive the edit before describing the transformation. This anchors feedback to the source image.
Add a second, third or fourth image only when it contributes a specific detail or visual direction; fewer, clearer sources are easier to evaluate.
Image-editing controls
The edit workspace keeps source images, the change request and output decisions together before you send the task.
It combines reference upload, prompt-led editing, resolution choices and output history in the same image workspace.
Use your source material as context for the edit, which is more practical than attempting to reproduce a product or design direction from words alone.
Try an edit at 1K first, then choose 2K or 4K for a selected direction that needs more detail or a larger placement.
Set a square, portrait, landscape or ultrawide ratio based on where the revised image will be used.
The workspace shows the credit total from the requested resolution and output count before you submit the generation.
Generate up to four outputs to compare how the same reference and instruction resolve into different compositions or treatments.
Edited images are available in My Creations, alongside your other FrameAI outputs, for later review and download.
The image-to-image page opens in edit mode, with reference upload first and text guidance immediately below it.
Add one to four JPEG, PNG or WebP images. Use the images that best communicate the product, composition or visual direction you need to preserve.
Explain what must remain and what should change, then select an aspect ratio, 1K, 2K or 4K resolution, and one to four output variations.
Review the returned images in the workspace, keep the strongest variation and download its PNG from the result or My Creations.
Reference-led editing is useful when a generic prompt is not enough and a real image needs to guide the result.
Keep a product reference while changing the setting, color treatment, season, props or photographic mood for different campaign placements.
Use a reference to explore a new visual treatment, remove distracting elements, add a requested detail or create a cleaner composition direction.
Combine up to four source images to develop a concept around a material, character cue, product detail or established art direction.
An edit is billed like any other image: per output, at the same rate across 1K, 2K, and 4K. Iterating on a crop at low resolution and then re-running the approved version at 4K therefore costs exactly the same per attempt, so the size of the file you keep is a creative decision rather than a budget one. Every run is quoted in credits before it starts.
See credit pricingAI image to image starts from one or more uploaded reference images and a written instruction. GPT Image 2 uses that context to create an edited or transformed PNG output.
You can upload one to four reference images for one task. Each source can be a JPEG, PNG or WebP file up to 10MB.
You can describe changes such as a new background, colors, lighting, style, composition, props or elements to add or remove. State clearly what should remain from the source and what should change.
Choose 1K, 2K or 4K and one of eight aspect ratios: 1:1, 3:2, 2:3, 16:9, 9:16, 4:3, 3:4 or 21:9.
Yes. Select one to four output images before generating to compare variations from the same references and instruction.
Credits are calculated from the selected output resolution and number of images. The total appears in the generator before you submit the task.
Create a new visual from text, animate an edited still, or use a reference-led image as the first step toward a video project.
Upload the reference, state the change and generate a focused set of alternatives. Keep the source details that matter while moving the visual direction forward.